
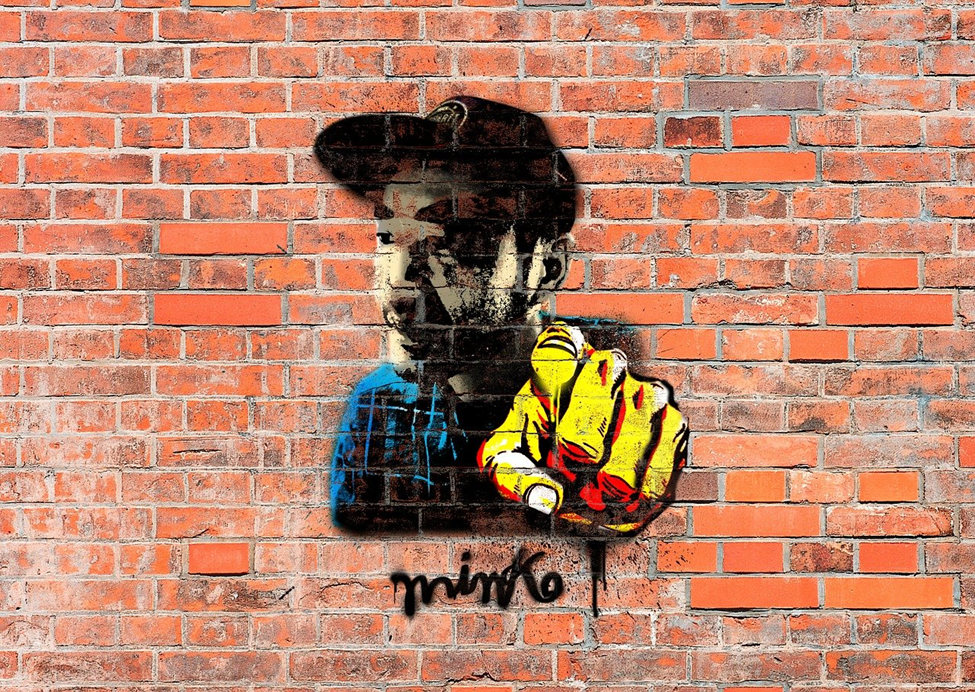
Stenciling might look quite simple from the outside, and that is precisely the problem. The process appears so straightforward that most people skip the preparation entirely, pick up a brush, and end up with paint bleeding under the edges, smudged designs, and a surface that looks nothing like what they had in mind. Understanding where things tend to go wrong before you begin is the single most effective way to get a result you are actually proud of.
[1] The learning curve in stenciling mirrors the learning curve in any skill-based activity, and just as someone new to an online tower rush game quickly discovers that skipping the foundational steps leads to avoidable failure, stenciling works in the same way. The mistakes beginners make are seldom caused by a lack of talent or creativity. They are caused by skipping small but important steps that experienced crafters perform automatically.
● Using Too Much Paint
Beginners assume that more paint means better coverage, but the opposite is true. Excess paint has nowhere to go but under the stencil edges, and the result is a blurry, smudged outline that ruins the design’s crispness.
The correct technique involves dabbing most of the paint off onto a piece of scrap paper or card before you touch the stencil at all. You want an almost dry applicator. Multiple thin layers applied gradually will always produce cleaner, sharper results than a single heavy coat, whether you are working with a foam roller, a stencil brush, or a sponge.
● Not Securing the Stencil Properly
A stencil that moves even slightly mid-application will produce a doubled or ghosted image that cannot be corrected after the fact. Many beginners hold the stencil down with one hand while painting with the other, but this creates inconsistent pressure and almost always leads to shifting at some point.
Repositionable adhesive spray is one of the most useful tools in any stenciller’s kit. A light coat applied to the back of the stencil before placement keeps it flat against the surface, prevents paint from creeping underneath, and allows you to lift and reposition it cleanly when needed. Painter’s tape works well on flat surfaces as an alternative, particularly for larger stencils along walls or floors.
● Choosing the Wrong Surface or Skipping Surface Prep
A rough or porous surface will absorb paint differently than a smooth sealed one, and designs that look crisp on paper can become patchy or uneven on untreated wood, fabric, or wall. Taking the time to prepare the surface makes a significant difference in how the finished design looks:
- For wood: Lightly sand, then apply a base coat to seal the grain and give the paint something consistent to grip onto.
- For fabric: Wash and iron the material before stenciling to remove sizing agents that can interfere with paint adhesion.
- For walls: Ensure the surface is clean, dry, and free of dust.
Skipping surface preparation is one of those mistakes that only becomes obvious once the paint is already dry and the damage is already done. Treating it as a non-negotiable first step rather than an optional one will save a great deal of frustration later in the process.
● Rushing the Drying Time
[2] The temptation to check the result is completely understandable, but peeling the stencil away too early pulls wet paint with it, softens the edges, and distorts the design. Waiting even a few extra minutes makes the difference between a clean lift and a smeared, unrecoverable mess. Plus, there is a factor of delayed gratification, which makes perfect stenciling results even sweeter.
If you are working on a repeat pattern across a large surface, resist the urge to move quickly. Allow each section to dry properly before repositioning and continuing. A slow, methodical approach produces far more consistent results across the whole surface than rushing through does.
● Giving Up
Many beginners try stenciling once, make one or more of the mistakes above, and conclude that they are simply not suited to it. This is unfortunate because stenciling is a genuinely learnable skill that improves quickly with even a small amount of deliberate practice. The first attempt is almost always the most instructive one because it reveals exactly which part of the process needs the most attention going forward.